Sunday, 25 September 2011
Stylish Ribba Tool Display
Materials: Ribba photo frame
Description: I took a Ribba frame that was missing the glass from the as-is section, removed the picture and added a piece of peg board cut to fit in the frame. I used the backing board from the frame to trace the right size on the pegboard. Then I simply put the matte board in the frame then the pegboard and used the tabs already on the frame to hold it in place. To secure it to the wall I Screwed a piece of 1 x 2 MDF to the wall then hung the frame on it and screwed through the top of the frame into the piece of MDF. Added hooks and stylishly hung my tools!
~ missamdabo, Calgary Canada
Pac-Man ghost lamp
Materials: MAGNESIUM spotlight system
Description: Turn your boring spotlight system into an awesome Pac-Man ghost lamp in just five simple steps!
1. Find plastic bottles in the right shape. That is actually the hardest part!
They should be cylindrical with a round top.
2. Cut the bottles. It is advisable to create a template for cutting to ensure that all ghost look more or less the same.
3. Paint the ghosts. Cover them with at least to layers of paint on both the in- and ouside.
4. Add eyes. Cut some white plastic, e.g. yoghurt cups for the eyes and some black plastic for the pupils. Put the pupils on the side of the eye to get the distinctive Pac-Man ghost look.
5. Put the ghosts on the lamp and mount it. It looks nicer if you don't mount it the way it is intended, but let the lamps hang from cable.
Note that the MAGNESIUM comes with five spotlights, but you can safely use only four (or invent another ghost).
See more detailed instructions and more pictures of the Pac-Man ghost lamp.
~ Daniel Hepper, Cologne, Germany
Saturday, 24 September 2011
The iPhone 4 Wall Mount Dock
Materials: Lack shelf, utby leg 110cm, some wiring, Dock insert
Description: The shelf shall be used as a docking station for the iPhone 4 with power and audio connection.
First I glued the needed wires to the dock insert which you can buy for 9 dollars for three inserts.
Cut a hole on top of the Lack shelf for the insert and a smaller one on the bottom for the audio and/ or usb cable.
I wanted to built in some speakers, but now I control the stereo over an airport express from there.
The shelf should be mounted on the wall regularly but unfortunately this one is to weak to bear the weight.
After all I had to mount two Utby legs for support.
I still have to hide the last cables and provide some flowers.
~ Peter, Germany
Lyngdal livingroom storage
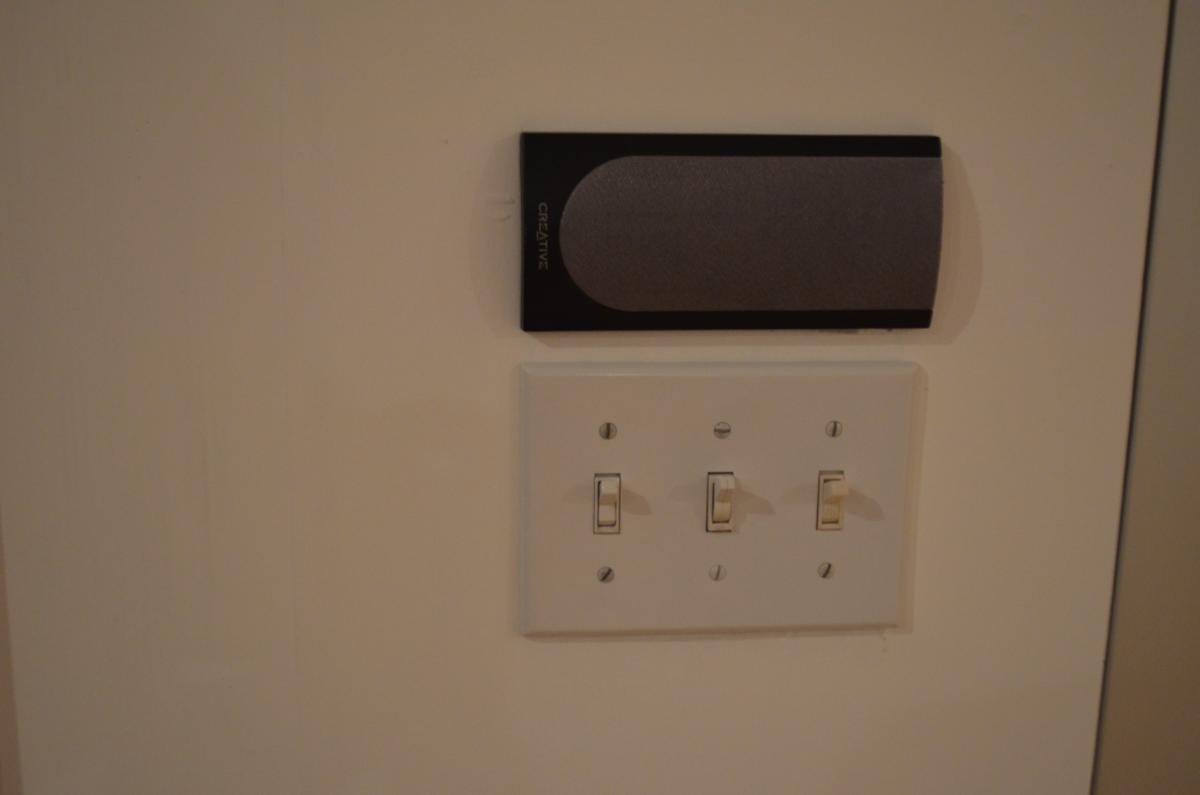
Materials: Lyngdal sliding doors, creative speakers, home depot wood and joints
Description: Found these Lyngdal doors in the AS-IS section in IKEA and decided to change the doors of my Pax wardrobe but when got home found out that they were the wrong height :(
Well, decided to do something with it and found that this space in the living room had almost the same dimensions.
Started by making a wood frame on the space to hold the doors.
When mounting the doors thought that they looked plain so I painted three of the glasses white on the back so they gave some contrast with the others and placed them alternating in the doors.
Then covered the sides with drywall and found some old computer speakers that wasn't being used and mounted them in the walls.
On a piece of wood carved a docking station for the iPod touch and placed it underneath the main speaker.
P.S. On the corner where the iPod is located I'm planning to put 3 Lack shelves to put the bottles of the bar, will send pics when done.
~ Carlos, Boston
A sign of the times...
Materials: DALOM Pedestal table, Newspaper cuttings, PVA glue, paint brush and clear varnish.
Description: I had just discovered decoupage and rather than have a tester go at it, I launched straight in and decoupaged an IKEA table. For those of you who don't know, decoupage is basically covering an object in some type of paper or material. So from January 2009 to May 2009 I collected different newspaper articles which made me laugh, despair (M.P's expenses) or we vital to history (Obama's inauguration speech).
So I brought a cheap �15 table from Ikea and arranged and glued my newspaper articles to the top using basic craft PVA glue. Then after that had dried I varnished it with clear varnish and did too many coats to mention. Finally I ended up with a table which I couldn't be prouder of. It is different, completely individual and provides a great time capusal from Jan 2009 - May 2009.
See more of the newspaper decoupage table.
~ Claire Thomas
Friday, 23 September 2011
Perpetual Family Photo Calendar
Materials: IKEA Tolsby Photo Frame
Description: Repurposed $1 Tolsby picture frame turned into an interactive perpetual calendar made with photos to flip for each day of the month!
- Remove inserts that normally 'sandwich' the photo
- Trim cardstock and photos so they will swing through the opening once hung.
- Adhere photos to cardstock rectangles, using photos of individuals on their birthday, anniversary or meaningful family days.
- Embellish photos with stickers, scrapbook embellishments and numbers for each day of the month.
- Punch holes and hand photo calendar from Tolsby frame.
DONE!
See more of the Tolsby perpetual calendar.
~ Keri Bassett, Winter Park, FL
Thursday, 22 September 2011
Sitting + Standing Desk Combo
Materials: 2x Lack Wall Shelf (191cm), 2x Expedit Shelving Units (2x2) , 1x Expedit Desk, 6x Lack Shelf (26cm)
Description: My wife and I just moved into our new home and decided to convert our upstairs hall area into a study for both of us. She wanted a regular sitting desk, while I was stubbornly adamant to have my own standing desk. I'm 6' feet tall so I couldn't use a previously mentioned Expedit standing desk because I wasn't tall enough for that one.
First I started by assembling a 2x2 Expedit Shelving unit as normal. And then with 2 metal brackets I bought from the hardware store screwed an Expedit desk to the top of the shelving unit. (note: the brackets supplied with the desk will only fit a 2x4 or 4x4 Lack shelving unit, to fit a 2x2 unit you'll need to buy a separate bracket and do-it-yourself).
Next I screwed on a Lack shelf (26cm) onto the top of the Shelving unit. This acts as the base for the Lack shelf (121cm) to become my standing desk.
Finally I assembled a second Expedit shelving unit with a Lack shelf (26cm) base and connected the two via a 121 cm Lack shelf. This acted as the standing desk.
One lack shelf was not sufficient so I repeated steps 2and 3 again for a second 121cm Lack shelf. A single lack shelf doesn't have enough depth to be a desk.
Then to top of it a of a few accessories for the Expedit Shelving units and a couple of lamps give the shelf a nice feel to it.
See more of the Lack + Expedit standing desk.
~ Keith Rozario, Malaysia
Subscribe to:
Posts (Atom)