Showing posts with label landing. Show all posts

Monday, 25 March 2013

Ambilight enabled Hovet mirror


Materials: IKEA Hovet mirror, self-adhesive LED cable with power supply, J-shaped aluminum molding bar

Description: To get some cool vibes out of my Hovet mirror placed at the very end of a narrow hallway, I decided to play a little bit with LED lightning.

Step 1: Take precise measurements of the height and width of all sides of the mirror frame. Saw the molding bars to their correct length with 45 degree corners accordingly, so that you can create an additional frame by attaching the molding bars on the mirror edges. You can attach the bars for example with screws or glue.

Step 2: Attach the self-adhesive LED cable to the backside of the molding bars. Depending on the cable, you might need to cut it in the corners and use some soldered cords to connect the pieces with each other. The IKEA led bars and cables can of course be used also.


Step 3: To get the power supply and LED cable cords behind the mirror, drill holes in the mirror aluminum edge. Attach the power supply to the backside of the mirror.

Step 4: Connect the power supply to the led cable and you're ready.

To boost the effect of the ambient light, I painted the wall with a structure paint, so that the surface becomes slightly three-dimensional. For some extra comfort, I also attached a remote controlled power switch behind the mirror.

~ Jussi, Finland

Friday, 1 February 2013

Hemnes add on unit transformed into console


Materials: Hemnes desktop + cherry boards + cherry legs

Description: 1. Purchased 3 Hemnes desktop pieces in white. (The have to be Hemnes because those pieces are wood and you need to be able to paint the pieces.)
2. Purchased unfinished table legs in cherry wood from an online vendor (Adams Wood Products).
3. Purchased two unfinished boards from a local hardwood store and measured the needed dimensions to cut the boards.
4. Laminated the boards together using wood glue and then clamped them to hold until dry. Measured again and then cut the laminated boards to fit on top of the Hemnes desktops.


5. Built a makeshift router bit to create a pretty edge on the table top (this took trial and error on other pieces of wood to get it right).


6. Belt sanded the laminated top and hand sanded the table legs.
7. Routed the table top.
8. More sanding to finish.
9. Stained the table top and legs using stain we had from other projects.


10. Put a coat of urethane on the table top and legs.
11. Sanded using fine grit (220) sandpaper.
12. Put another coat of urethane on the table top and legs.
13. Bolted the 3 Hemnes desktops together.


14. Obtained a pint of paint which was matched to the desktops by Home Depot.
15. Painted the trim pieces which we had left over from other projects.
16. Glued the legs to the bottom of the bolted together desktops, waited for it to dry and turned the whole thing back over.
17. Set the table top on and nailed the trim pieces to the top, under the table top, bottom all the way around and two pieces down the sides of the center desktop to make it look more like one piece.

~ Terri Sanne

Wednesday, 23 January 2013

Simple But Effective Occasional Table


Materials: Lack Shelf, Vika Adils Legs

Description: A very simple hack. I didn't like the Malm occasional table (or the $130 price tag) so I built one for $34. I combined the 74" Lack Shelf with 4 Vika Adils legs. I have the low headboard Malm, for the high headboard the Vika Kaj legs would be better.

Freestanding it's not the most stable but behind the headboard its solid as a rock, it is about 1/2" lower than the headboard which provides a nice lip to keep items from falling on your head.


~ Matt Hannan, Wheat Ridge, CO

Thursday, 17 January 2013

The "WHY DIDN'T I THINK OF THAT" hack


Materials: 2 Ekby Bjarnum brackets, 1 white Ekby Jarpen shelf (high gloss foil finish), circular saw or jig saw, coping saw, painters tape, round or square mirror of choice

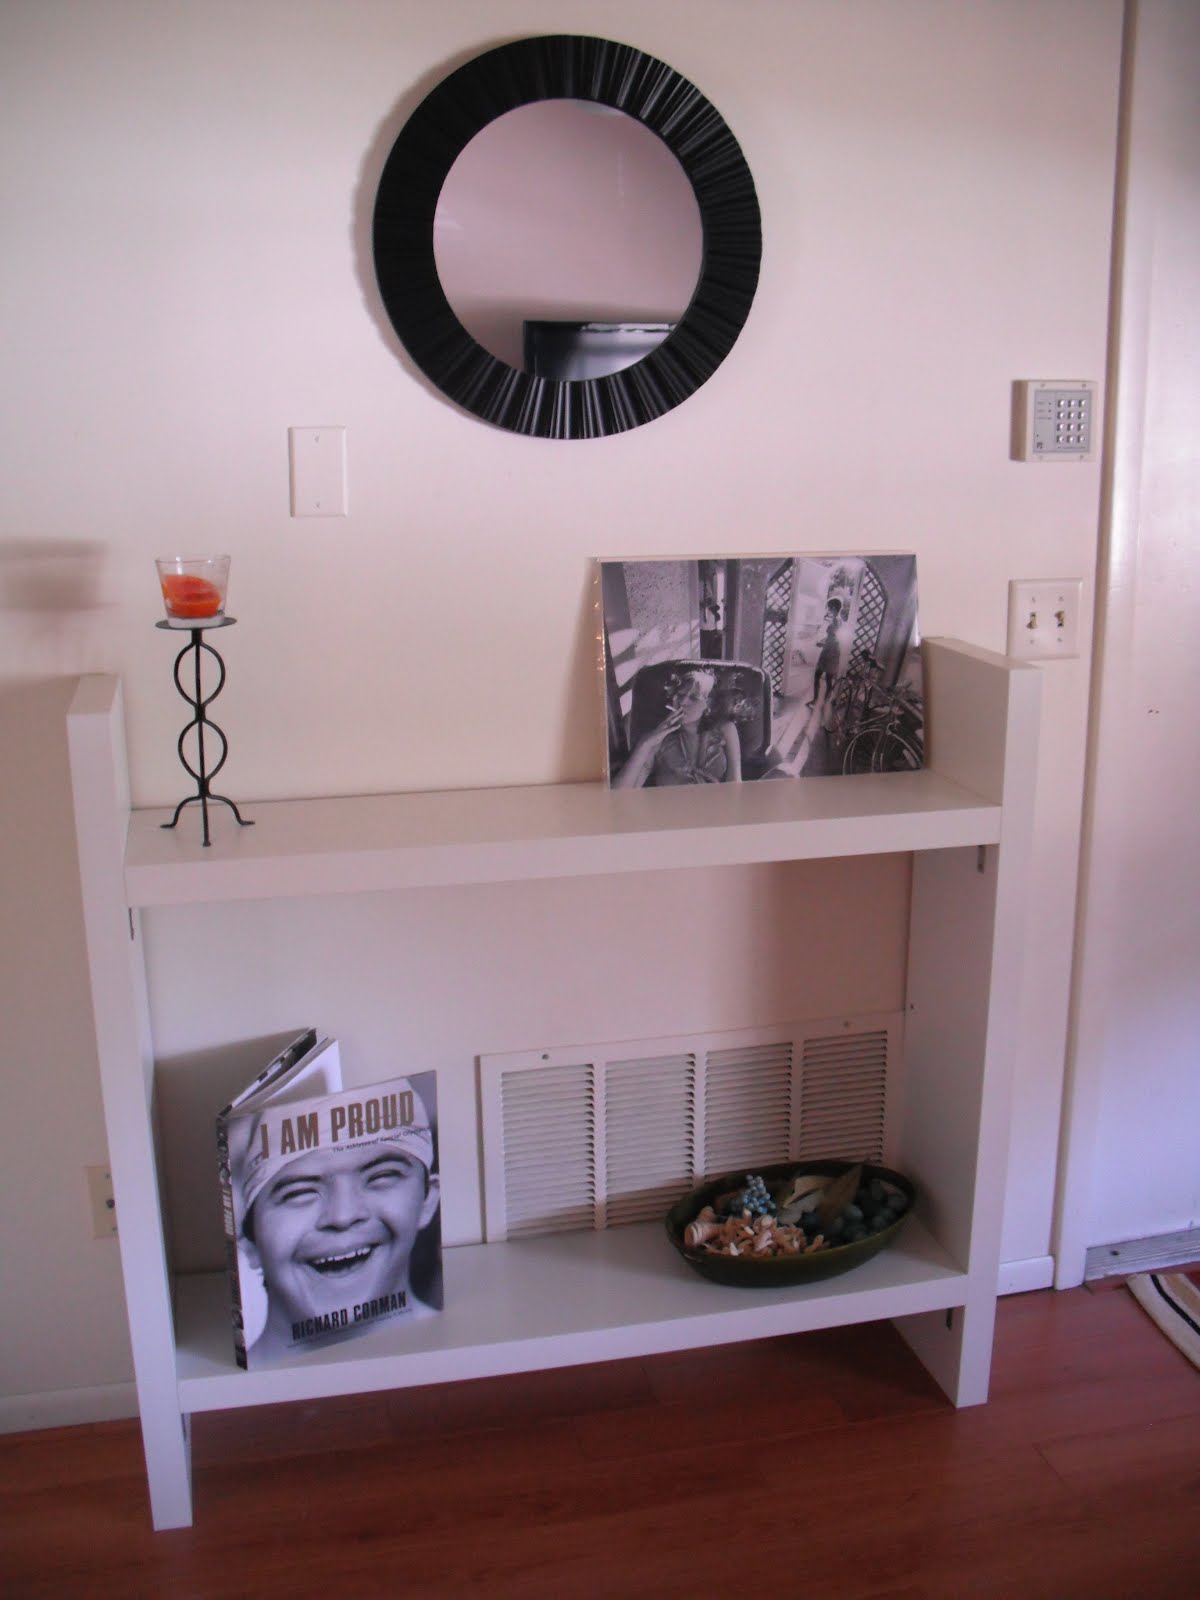
Description: The mirror sits out from the wall just a bit (cuz the frame on back) so I had to measure inwards on the shelf.

Lay out the painters tape on the top surface of the shelf (this will allow a clean cut and prevent the finish from splintering).

Mark out with pencil on the tape your dimensions/outline of the mirror (where you're going to cut).


Set up and clamp your straight edge onto the shelf. (this is where your saws frame will ride against for the straight cut).

If using a circular saw: you will have to do a plunge cut. (This is where you lower the saw down onto your pencil mark and into the wood.) Starting from the one end of your mark, you saw forward as normal and stop at the other end of your mark. Now you have a shelf with a straight cut through the length of it.

Take your coping saw and cut from the outside towards the edge of your previous cut. And do the same for the other side. Now you have a nice recessed groove cut out of your fancy shelve.

Remove your tape.

*Easier and safer method is to use a jig-saw. I didn't have one at the time so I went the circular saw route. It requires more skill and patience than the jig-saw. I would recommend using the jig saw method if you have minimal wood-working skills. It's safer as well.

**If you use the jig-saw method, drill a hole in each corner of your layout. (hole must be bigger than the width of the blade) That way, the jig-saw blade can pass through and start in the corner and make its way down the length of the shelf towards the other corner. Of course, you still use your straight edge so your jig-saws frame can follow that making a perfectly crisp and square cut.**

Now to hang the shelf and mirror, you will need another set of hands. Assemble the shelving unit without the mirror and hold it up to the wall in your preferred location. Mark with pencil through the screw holes on each bracket. Now you can put your screw anchors into the drywall. (On mine I had one stud to screw into and the other was drywall. If possible, use the studs!) No anchors needed for the stud side though - only for drywall.

Once the anchors are in, put the assembled shelving unit (without the mirror) up to the wall and screw it 1/2 to 3/4 of the way in. This will allow you to slip the mirror into place.

Use construction adhesive on the mirror instead of double sided 3m tape (I went the DS tape route and it doesn't seem to stay too well). Have the other pair of hands put the mirror into place while you push the shelving unit into the wall. The groove you previously cut into the shelf will hold the weight of the mirror. Now hold it all, while you finishing screwing the rest of the way into the wall.

That's it!! Let me know what you think.....


Craig

~ Craig Arges, Kamloops, BC, CANADA

Thursday, 13 December 2012

Expedit slim shift version


Materials: Expedit 2x2 shelving unit

Description: Ever thought that the Expedit series took a bit too much space? My very small hallway had no space for a full version of the Expedit as the front door couldn't open... This is how I did it:

First I marked up the cut plane on the assembled Expedit 2x2, the plane is a bit shifted in this case, as the shoes to the left are bigger than the shoes at the right :)


Then it took it apart and cut the different pieces with a fine hand saw.

I then reused the cut-off-piece as the reinforcement at the front of the shelves as they had the precut holes I needed to reassemble it. I cut a small piece off the reinforcement to make room for the replacing front.

I drilled new holes for the reassembly and put everything back together.

~ Jens Kl�ve, Copenhagen

Wednesday, 5 December 2012

Scandin'hack Corridor piece of furniture


Materials: 3x Faktum, 2 Applad doors and oak

Description: This corridor piece of furniture is the result of a 2-step thinking :
- functional for the inside : using Faktum elements for kitchen
- external shape : Applad doors and oak corpus


First, the depth of Faktum elements has been reduced, as well as the height of the Applad doors

Then, the smallest Faktum has been hand-painted in dark grey (not so easy, but nice result finally)

To finish, the corpus has been made with pieces of oak and varnished.

~ Esteban, Strasbourg

Wednesday, 24 October 2012

Another twinned Hemnes shoe cabinet


Materials: Hemnes shoe cabinet

Description: Do you remember the inspiring ScrapHacker's idea "HEMNES gets a double topping"?

I've decided to use it in my hallway, following the anonymous comment of removing one of the "sides" in the middle. Actually, instead of that, I've decided to keep both inner "sides" and I've removed one of the inner columns, as you can see in this photo.


First of all I did 4 mirrored holes in the rear side of the central column. Remember, the front side can not have any hole. Then I did the 10 holes in the opposite lateral side of the column. So, I mounted the Hemnes as a single shoe cabinet with 3 legs. Finally, because I don't consider myself a handyman and I don't even have a handsaw, I've kept untouched the two original top plates. Therefore the two twinned top plates have a bit of an overhang on each side of the cabinet as you can see in this final photo.

Last tip: according your firefighters, keep in mind you have to respect the hallways' standard measures.

So, ScrapHacker, you may be glad of being inspiring to someone else: me!

I hope your hack can still be helpful to more people.

~ Paulo, Canada

Thursday, 11 October 2012

A bigger, better mail sorter with Knuff


Materials: Knuff Magazine file (2 sets), wood glue, paint, scrapbook paper, Mod Podge (or stain instead)

Description: 1. Use wood glue to attach all the Knuff magazine files together in the configuration shown -- I did the bottom two together first and let them dry with clamps, then the top two one at a time.

2. Paint the insides whatever color you want; cut scrapbooking paper the size of the outer surfaces and mod-podge them on the outsides.

For a "nicer" look, the whole thing could be stained instead of painted and mod-podged, and if I was going to put this by my front door, I would have done that, and maybe added hooks for keys on the bottom -- but I wanted something more fun-looking.

I have the thing attached to the bottom of a cabinet with nuts and huge washers, using the existing holes in the tops -- but it could be attached to a wall any way you want, and a small shelf (such as EKBY TRYGGVE) could be added to the top.

Inspiration for this came from here and here.

~ Elizabeth Kim, Los Angeles, CA

Sunday, 15 July 2012

Tile sideboard


Materials: Akurum, Vika Byske, Stickers

Description: We need a small sideboard for our home entrance. Most of plain sideboards that we like are very expensive.

I have an old Ikea Vika Byske oak table top.

I bought two Akurum wall cabinet with Applad doors from Ikea and tile pattern stickers from local shop.


I cut Vika oak table top two equal pieces.

Then install Akurum cabinets to table top with screws.

Last step apply tile pattern stickers to the Applad doors.

I like it to much!!!!

~ Yunus E., Turkey

Wednesday, 16 May 2012

Extensive Ivar Hack: Workstation & Micro-foyer


Materials: Ivar shelving, lumber (luan, pine plank, molding), various mending plates, L-brackets, handtools (saw, screwdrivers), power tools (circular saw, drill, Dremel).

Description: My flat is rather small and I have a large computer workstation so maximizing space and being able to integrate work and living space is important to me. Also, from the outside, the flat's front door opened into my living room. If the front door was open there wasn't much privacy and too much gear would be potentially on display for my taste. This Ivar hack solved these two issues for me.

The "smart" side of the hack provides adequate ergonomic space for my workstation and the "dumb" side works to create a micro-foyer. By adding a "ceiling" above the smart side I was able to create some space to keep the gear I'm not using on any particular project nearby.


This is a big, multi-day, project for those with intermediate "home improvement" experience. For those with several years of intermediate experience I don't think this hack should present any challenges not encountered before but there are a couple of areas where calling on a friend for an hour or so of their time to assist is a good idea.

The unit is mostly standard Ivar shelving & cabinets. Ikea discontinued their corner shelves so I had to go to my local home improvement store for lumber that I cut to size and secured to the adjacent shelves with mending plates and to the Ivar vertical supports with L-brackets. Brackets and mending plates are used to secure the "ceiling" and elsewhere, throughout, for structural reinforcement. Where necessary and appropriate, shims were used during leveling.

To create the micro-foyer I used luan and standard molding to construct a "flat" or fake wall. The fake wall is two parts, a top panel and a bottom panel, with their seam hidden behind molding. In order to access the back of my equipment and patchbay, the upper fake wall panel is hinged at the top and the lower panel is completely removed. When closed the two panels are secured in place with screws & bolts at the corners and 3M Dual Lock attached to the Ivar vertical supports along the edges.

It's important to use angle brackets for reinforcement during assembly and, as always with any shelving unit, judiciously distribute the weight among the shelves after completion. This amount of pine will noticeably contract and expand with the weather as it continues to cure (most Ikea pine pieces I've assembled seemed to finish curing over time) and the extra reinforcement helps mitigate the potential for going catawampus. If you live in earthquake country and secure it to a wall make sure there is some give; the straps included with the Ivar units, when properly secured to a properly assembled unit, should be enough.

Everything associated with wood working and "home improvement" apply to this hack: measure twice (or more), cut once, use the proper (quality) tool for the task at hand, give yourself enough time and be realistic about the time it takes to complete. I used an accurate carpenter's level throughout. When measuring and cutting the luan I used a carpenter's chalk line. I also used hand tools for most of this. When using wood screws on the Ivar vertical supports use a hand screwdriver to avoid splitting, even when screwing into predrilled starter holes.

~ m1ckDELTA

Wednesday, 4 April 2012

Industrial-look Rast chest


Materials: IKEA Rast chest, label pulls, black paint

Description: I've been looking for an inexpensive way to bring the industrial look into my home. I found it. I painted a (clearance section) IKEA Rast chest in a glossy black with 2 coats.


Then I replaced the knobs with stainless steel label pulls from Lee Valley, simply nailed on. I labeled the drawers for stuff that needed to be cleaned up in my entry. And there you go! A stylish, organized entryway.


See more of the Industrial Look Rast.

~ kelly@refresheddesigns.

Monday, 27 February 2012

Lack entry way table

Lack entry way table

Materials:
Lack Shelves

Description: Husband and I wanted a modern looking entry way table but were unable to find anything we both liked. So we decided to Hack a LACK!

You will need:

Drill
Pencil
Level
8 L-Brackets with screws
4 LACK Shelves Length: 74 3/4 "

This is a pretty straight forward hack. We positioned shelves 7 inches from both top and bottom. Used L-Brackets to secure. You may use additional brackets to secure hack to wall. We have wood floors and it is pretty sturdy.
So far so good!

~ Mari and Hastings Huggins, Orlando, FL

Saturday, 17 December 2011

Billy to entry Bench/locker


Materials: Billy Bookcase, 2 packs of pine bead board, stain, 2 inch foam, staples, fabric, hooks

Description: Buy a Billy Bookcase (Article Number: 836.882.10 on Ikea site) and assemble without any shelves or the back board.

Cut the Pine to the exact same size as the back board provided. Stain to your preference and assemble onto the Billy in the exact same spot as the back board should go.

Add in shelves wherever you want them.

Cut remaining pine to fill space used as coat locker/bench, stain and apply to Billy, ensuring that our outer most board on both sides is stained/finished nicely.

Get 2 inch foam cut to fit remaining shelf area. Cut from the supplied Billy Backboard a piece the size of the foam. Upholster your choice of fabric over foam stapling onto Billy Backboard.

**If you want to use bench for adults you will need to add in more weight bearing strength for the bench shelf, but as is it should hold 66lbs (according to Ikea specs).

Apply coat hooks as desired.

**ATTACH TO WALL** using the supplied safety thingy.

Voila!

I had intentions of adding in crown mouldings etc but, I like it this way just fine.

Enjoy!

~ Country Roots Early Learning Centre, Ayr Ontario

Wednesday, 14 December 2011

Closet for the landing


Materials: Malm 6-drawer chest of drawers, Maple Ply-wood

Description:
This is a Malm 6-drawer chest of drawers we found in as-is. We then raised it off the ground five inches. On a half of a full length of Maple plywood. Stained to match the chest. Also used a Stainless Door handle that was found in the Ikea parking lot. Used as a coat hanger rod. This is now being used to store shoes, scarfs, hats, and gloves and of course jakets.


~ Luke, Etobicoke, Toronto, Ontario, Canada

Monday, 12 December 2011

Key and letter holder all in one


Materials: Fl�ta storage rack for writing materials, VARDA or BEHANDLA glazing paint, piece of wood, 3 BLECKA hooks, 2 hangers (from a construction market), gold paint

Description: I needed something to organize my keys and letters so I thought of working something myself. I had some piece of wood left over. I glazed this with the VARDA glazing paint which I actually use for my outdoor furniture (it works with the BEHANDLA the same but I like the color of VARDA and it fits better to the furniture in the corridor).

The glaze was very quick dry. Then I nailed the 2 hangers at the back. Afterwards I srewed the 3 BLECKA hooks and the Fl�ta storage rack for writing materials on to the glazed wood. At last I decorated it with the gold paint (I have a template for the boubonic lily). And that's it. I had a lot of fun and it didn't really cost a lot of time and money because every material was a leftover.

~ Kerstin, Berlin

Wednesday, 30 November 2011

Ekby Jarpen in the hallway

landing coat rack

Materials: Ekby Jarpen shelves, Vippa hooks, Ekby Robert Brakets, Besta frame

Description: Moving into a new apartment we had trouble finding some hallway furniture to fit in the designated place. As we had three extra shelves we didn't need and a Besta frame which was bought as a TV stand but was never used, my husband came up with this idea.

Items used:
- 2 Ekby Jarpen shelves 119 x 28
- 1 Ekby Jarpen shelf 79 x 19
- 5 Vippa hooks - large
- 5 Vippa hooks - small
- Wallpaper
- Black spray paint

landing coat rack
landing coat rack

My English is not very fluent so I'll let the pictures speak for themselves. The shelf which is used as support for the hooks was fixed to the wall and the hooks are masking the screws. The smaller shelf has three hooks for keys and two for our kids' jackets.

The part of the shelf which is not finished (should normally go against the wall) was painted black.

~ Laura, Cluj, Romania

Sunday, 27 November 2011

Besta by the Door

small space coat landing storage

Materials: 75 5/8" Besta shelf unit, Antonius clothes rail, 4 3/8" Grundtal hooks, screws

Description:
We needed a narrow piece of furniture to hold our various coats and jackets (you need quite a variety in Seattle) that did not mount to the wall. The Besta shelf was the perfect fit for our pocket-sized entryway.

After building the frame, we lowered all the shelves to the bottom to be used for shoes, bags, etc.

The Antonius clothes rail was a bit long, so after chopping that to the appropriate length, we then attached it to the ceiling of the shelf used long screws drilled in from the top.

small space coat landing storage
Besta landing storage

We chose to leave the back off the shelf because we needed access to the light switches on that wall.

Threw on a couple packages of large Gruntal hooks, and bam! Besta by the Door.

~ Mary McMurray, Seattle, WA

Thursday, 24 November 2011

Shut The Front Door TRAMPA!

Shut the Front Door by WilliamDohman

Materials: Trampa Door Mat

Description: Stenciled the uber famous SHUT THE FRONT DOOR design by WilliamDohman onto Ikea's TRAMPA.

What a nice, tongue-in-cheek welcome home (and a reminder doesn't hurt).

See more of the Shut the Front Door Trampa mat.

~ Judi

Tuesday, 22 November 2011

Console was Lack-ing, leads to hacking

IKEA Lack with hairpin legs

Materials: Lack console table, drill, hairpin legs, wood, glaze

Description:
Paint wood, let dry. Flip console onto its side. Attach legs with screws. Attach L brackets from inside at 1.25" from top. Insert painted and dried wood. Show off to friends.

IKEA Lack with hairpin legs

See more the new Lack with hairpin legs.

~ Kaytie, Philly