Monday, 28 November 2011
TRONES Shoe Cabinet Shabby Chic Makeover
Materials: 4 TRONES shoe cabinets
Description: I wouldn't call this an IKEA hack, it's more like a shabby chic makeover. We have several TRONES shoe cabinets, which we not only use for shoes, but also in the bathroom, for separating the washing and for stuff like toilet paper, cat litter, etc.
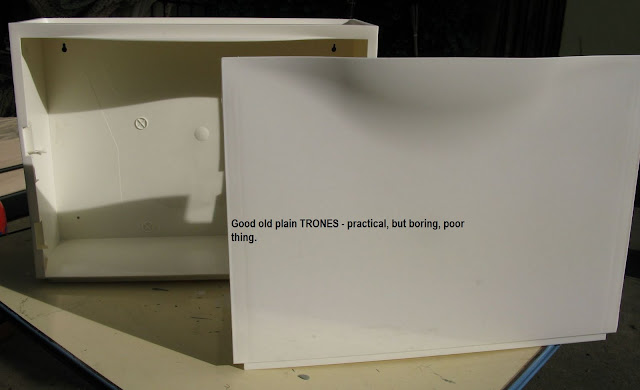
1. The white TRONES were perfect for our very small hallway, but ... sooooo boring.
2. I took them outside and removed the lids.
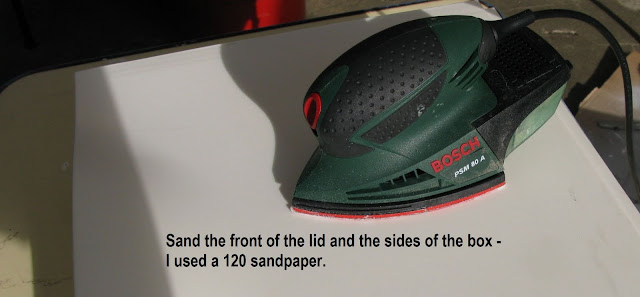
3. I sanded the front of the lid and and the sides of the box with a 120 paper.
4. Prime with plastic primer. I used a grey one because it will show through the paint nicely later and give the lid a used and wooden look. I prefer water soluble primers and paints - first, because I'm a messy worker and second, because the brushstrokes show more clearly with water soluble paints and I love that effect.
Note: do not paint the inner sides of the lid. I tried it because I didn't want the plastic to show when I open the cabinet, but even a thin layer of paint gets in the way and may make opening and closing difficult.
5. I found this great old board in our landlord's attic where he hoards lots and lots of beautiful boards. Best of all: I'm allowed to take whatever I want from there!
This board is thick and heavy and gives the new TRONES cabinet stability. Also, I didn't have a thing to do with it except a bit of dust-removing - it fit exactly and was just perfect! It must have been painted with a white chalk paint once and now looks like a piece of driftwood, including some rusty old iron staple thingies, which I of course did not remove.
We screwed all four TRONES together (note: do not fasten the screws too tight - the plastic might warp and the lids won't fit in anymore) and screwed the board on top of it.
6. This is how it looks when you come down the stairs - and you can see how really small the space in our hallway is (entrance door at the left, kitchen door at the right).
7. Voila! New shabby chic shoe cabinet! I made another one for the bathroom, it's not finished yet but I will blog it in the next days.
Hope you like it - if you have questions regarding supplies or anything, let me know.
See more of the shabby chic shoe cabinet.
~ Ms. Liquorice, Germany
Subscribe to:
Post Comments (Atom)


No comments:
Post a Comment