Monday 31 May 2010

French Country Play Kitchen


Materials: STAT doors, random unknown shelves/cabinet doors, RATIONELL shelves

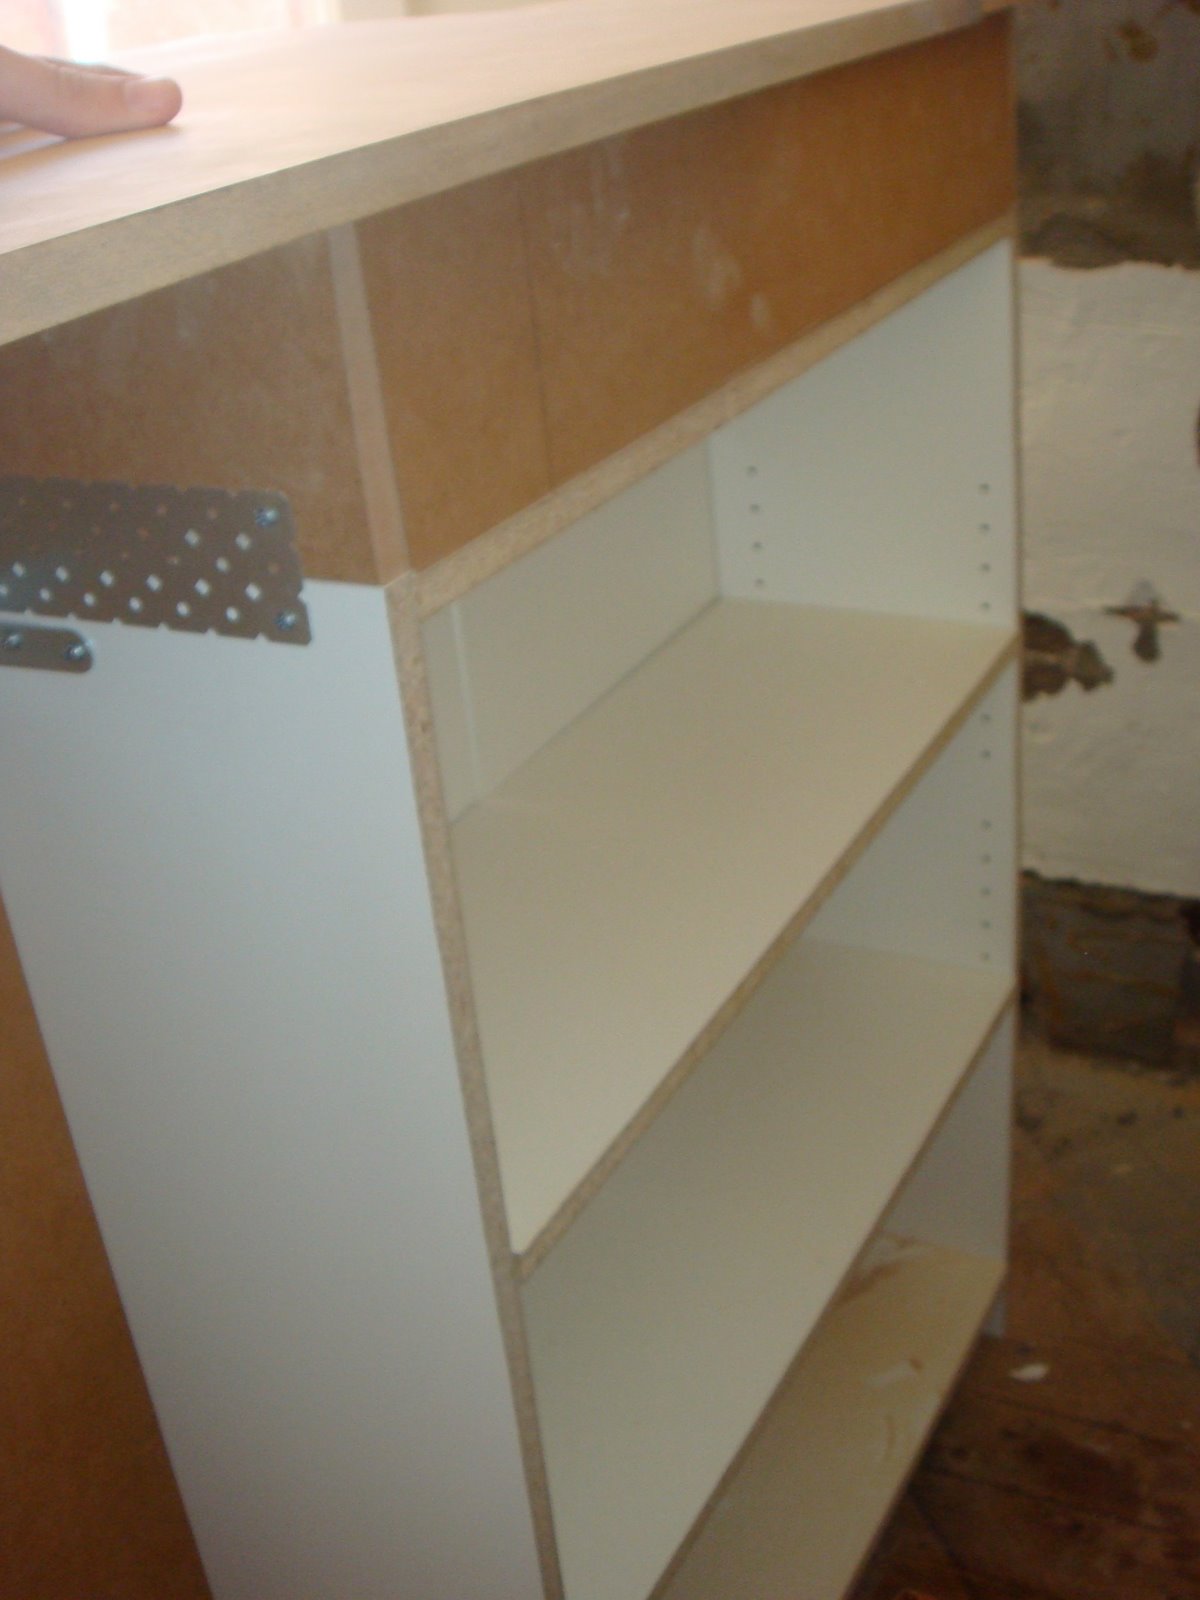
Description: To make this kitchen I raided the "As-is" section at our IKEA. They always have an assortment of cabinet doors and single shelves in a variety of sizes; many for $1-$5 each. It took some patience and creativity, but eventually I found some to fit the sizes I needed. I used the shelving/cabinet doors to construct a frame, and screwed a larger (12x30) STAT cabinet door onto the frame to make the backboard. The RATIONELL shelves are the countertop. I would have preferred a single piece of wood, but these were a buck each, and I cut them to size with a circular saw. FYI, all the components are melamine, so you MUST pre-drill any holes for screws.


The hooks are BYGEL, and they fit perfectly over the backboard. The oven handle is an ATTEST, also from the As-is. Actually, all the components are from as-is except the hooks, but they're only 99 cents. All in all, the kitchen cost about $50 in IKEA components. The burners are foam board and felt, and the sink is a mixing bowl. The faucet was 3 bucks at our re-use building supplies.

~ Anny, Seattle, WA

Jewelry display tray


Materials: Ribba Frame, Polarvide blanket

Description: My girlfriend keeps on leaving her jewelry on top of our new (and rather expensive :/ ) white lacked piece of furniture. It was time to build a solution to avoid scratches and display jewelry in style. My idea, her perfect execution!

TOTAL cost of the hack: 16 Eur
TIME required: 15 min (at most!)
ITEMS required:

1x RIBBA Picture Frame. There are several sizes and styles, choose the one that fits you best
1x POLARVIDE blanket. Again, there are different sizes.
8x STABILT rubber feet. I think you can get them on IKEA, but this ones are from a hardware store

STEPS

1- Open the picture frame and use the back board to measure the amount of blanket required.


2- Cut a single piece of blanket 2 cm bigger than the back board of the picture frame.


3- Wrap the back of the picture frame with the piece of the blanket and close the frame.


4- Stick some rubber feet so the tray doesn't scratch the surface of your furniture and doesn't slide.


5- Put your day to day jewelry / watches / coins on top and enjoy.

~ pep0, Berlin

Friday 28 May 2010

Walk in closet from kitchen wall panels


Materials: Ikea kitchen wall panels

Description: I didn't want to have bypassing sliding doors for my bedroom closet and thought one door would save space. My house is old but didn't have much in the way of good salvageable architectural details. I bought some Ikea kitchen cover panels (look for them in the damaged area, they are expensive otherwise) They usually have a lot there which are only damaged on one side. Got some construction adhesive, clamps, and a nail gun. The sliding mechanism for the door is just stock iron pipes and casters from any home store.


~ Mike Izzo, South Jersey

Converted fireplace built-in


Materials: White 3 shelf BILLY bookcase, 2 x LIDINGO Glass panel doors, DIODER Lighting pack, 2 pack TYDA Handles, MDF for frame, TV antenna socket, Power socket, PVC piping, Jigsaw, Drill, Liquid nails

Description: Due to the small size of our living room I converted our already closed up fireplace into a lit book cabinet and entertainment unit.

I initially fixed 2 solid LIDINGO (40cm x 92cm) doors to a white BILLY bookcase (80cm x 106cm). However, later on I decided glass panelled LIDINGO doors would look better.


I built an MDF frame with 16mm MDF sheeting around the bookcase to allow it to be fitted directly into the fireplace with no space around it. Effectively making it a built-in. I also included an open shelf (also constructed from MDF) above the unit to place DVD players or other entertainment systems.

By running the power supply and TV antenna through the walls into the internal sides of the BILLY bookcase and installing a PVC conduit pipe for the power cables of the electronic devices I setup the corner so as to make it an entertainment area while also hiding all the cables. I hate exposed cables!!!


Finally, I installed DIODER lights on the inside of the unit to create a nice glowing effect at night time.

~ Alexander Spencer, Sydney, Australia

A vintage suitcase laptop table


Materials: Dave laptop table

Description: This is my second luggage project. I love to upcycle old luggage into tables, so it seems. This guy was given to me in his original pre-loved state by a wonderful man I work with during the holidays when he heard I was into 'the luggage'. He had used it and found it in the garage, unloved, and lovingly gave him to me to upcycle and make useful. Perfection.


Blue Footed Bobby, as it also turns out, is an Ikea Hack. Once I completed cleaning, priming, painting and finishing up his stripes with some magic shiny tape I was on the hunt for legs. He's not a large suitcase, just the right size, medium. He needed legs that matched his style and size. I hunted and hunted for something inexpensive and suitable. What did I end up using? The base from my very own best friend of a laptop table from Ikea, Dave. Height adjustable, tiltable and so so birdlike, I loved the idea in my mind. With a little cleaning, some paint and a simple transplant of hardware he was born. Without any further explanation, let me introduce Blue Footed Bobby.


See more of the Blue Footed Bobby.

~ keeley d., ontario, canada

Thursday 27 May 2010

Say hello to my little (speaker) stands!


Materials: Ikea Shoe Rack (Lustifik)

Description: First and foremost I have to qualify/justify why I made these speaker stands (before the audiophiles out there cry blasphemy and take me for a fool not understanding the need for a $300 USD stand with zero resonance and spikes/cones for legs)

1) I needed to space out the speakers on my system to create a larger soundstage.

2) To me speaker stands are glorified stools

3) I don't have a proper workshop. (Over here in Singapore we live in tiny 3 room sardine cans which we spend our whole life's paying for). And as such anything I would do to modify/hack had to be simple.

4) Did I mention I think speaker stands are just glorified stools?...I ain't gonna pay $300 USD for stools!

So, one Friday afternoon I spent my time walking around my friendly Ikea store..I had been inspired by other cool ikeahacks (ie. Sexy legs stands, lamp/stands..) and wanted to do one myself...

Lo and behold! $6 USD shoe racks!..And at the optimum floor to sitting ear height of 60cm!

The mod work is rather simple.

1) Open and assemble said racks (you don't really need to follow the provided 1 page manual)

2) Cut a wooden board to fit the top where the speaker is going to sit on

3) Spray paint the whole thing midnight black ($1 USD can of spray paint)

And voila!...Speaker stands!...with a greatly expanded soundstage to boot and only for what...$13USD!!!!!


I'm sold!...

~ Lucas

Rusty room divider


Materials: Expedit 2x4, Expedit 4x4

Description: It all started with placing two Expedit units on top of each other; I ended up with something very colourful. There are way too many stages in this project to explain it all in 5 pictures. If you'd like to see more, go here.

1. As I wanted to separate my dining table from my office I fixed two Expedit units on top of each other, with on the wallside a small storing space (for long objects).


2. Even though it was very functional, it still looked very much like, well.. two stacked Expedit units. And I wanted something a bit more groovy. Also, I wanted to separate my office/work room a bit more.


3. Adhesive plastic foil was used to stick on the insides of the compartments: yellow, orange, blue and black, in a semi-random fashion.

4. From 2 large sheets of 4mm MDF new fronts were made, covering more compartments on the side of the dinner table, so I could use them for office stuff without exposing it in the living room.


5. More MDF parts were attached to it, creating a doorway on the right, and a large mirror on top, right under the ceiling.

6. The sides of the expedit unit were covered in black adhesive plastic foil.

7. The fronts were treated with a paint that has iron particles. After that a couple of layers of acid (ferrochloride) were applayed to make the iron rust very fast (within a couple of days). The rusty metal gives it sort of an industrial feel.


8. There are 4 "tv shaped" compartments with a removable panel, which fit exactly an LP record cover, so I can make some changes to it every now and then.

See more of Bram's Expedit room divider.

~ Bram D., Netherlands

Wednesday 26 May 2010

Pretty Kitty Potty


Materials: Lack and Anno Stra screens

Description: I was looking for a way to provide kitty potty privacy and also take away from the "look, this is where my cat poops" decor of the living room of our condo.

So, I took two Lack tables, and one roll of Anno Stra window screens, as well as some sticky backed velcro.

1)Assemble the tables
2)Measure the screens to fit between two legs of the table and adhere with sticky velcro. I used velcro in case there was damage to the screens. (Who knows what kitties will like to scratch!)
3) Repeat to cover 3 or 4 frames, creating a tunnel beneath the tables for for the kitty litterbox and the mat that wipes their paws.


Easy as that! The cats, I believe, appreciate the privacy and it creates a new surface for coffee table books, our Aerogarden, or couch throw blankets.

If you litterbox doesn't fit I thought about adding casters also to make it easier to pull in/out to clean the litter.

Enjoy!

~ Fraser, Bethesda, MD

LACK of style


Materials: 2x LACK shelving units, 2x LACK small shelf, 1x LACK large shelf, 2x3 GRUNDTAL spots and dimmer

Description: The inspiration came from a trendy furniture store where they had this white furniture in front of this blue-green wall. As it was way over my budget, I had to improvise: enter the Ikea LACK shelves.

1. I used 2 LACK shelf units and 3 LACK shelves and a number of MDF panels.


2. Two green neon tubes were built inside the LACK shelf units as well as 6 GRUNDTAL spots on 2 dimmers.


3. All the cables go behind the MDF-panels, covered in white fake fur, which are placed ~2cm in front of the wall.


4. from 4mm MDF boards I made new fronts for the lack shelf units to make the 4 compartments somewhat look like old-school tv screens.

5. The top and sides of the shelf units are laminated with white plastic foil, so they look like they are made out of one solid piece.

Voila! I'm so happy with the result that I sometimes close the curtains just so I can put on the lights in my shelf. :)

See more of Bram's stylish Lack.

~ Bram D., Netherlands

Tuesday 25 May 2010

From bland Ikea dresser to kiddy delight


Materials: Rast chest of drawers

Description: This started life as a paint job gone horribly wrong. Eventually, after I hid the thing in the closet for months, I decided to give it a second try.

I sanded down the whole thing to get rid of the bad shellack job (not mine), then gave it 4 coats of paint and one coat of clear lacquer. I primed two of the drawers and covered them with fabric using Mod Podge Hard Coat. I also covered the top of the drawer pulls with scraps of other fabrics.


It went from "hide in the closet" to "kid's delight".

You can see the step by step process here.

~ Clara, PuntaCana

Super swank wall-o-shelves dresser


Materials: Expedit bookcases, Lekman bins

Description: We had two of the big daddy Expedit book cases and were using them with Lekman bins as a dresser. As you can see, it's not so hot looking to be able to see all of your clothes and such through the plastic, so we decided to make fronts. We bought foam core board, and cut them to size. I bought some really cheap cream burlap (like 2 bucks a yard) and we used a spray mount to cover the boards with fabric.

Then we hot glued them to the front of the plastic bins.

I ordered some vintage nobs on ebay. We poked holes in the center of the boards and used a super ghetto combination of washers and cardboard to connect them through the center holes of Lekman boxes.

Does that make sense?

Voila...super sleek looking storage with no socks showing through. Go ikea!

~ Alyssa, Los Angeles,

Tableformer


Materials: Lack, Broder

Description: My son finally deserved a desk. He's a Transformer fan, and I had some Lack shelves to be recycled. The structure is made of Broder rails and cantilevers, the desk itself with the shelves, silver and red, in perfect "transformer style". The height of the working surfaces can be changed following child growth.


I bonded the shelves toghether with a screw bar tightened by nuts. Note how the bar fits in an existing channel (if you ever mounted a Lack you know what it's for), so you don't have to drill much. Then I screwed the shelves to the cantilever. The result is sturdy enough, I climbed on the desk just to check. The front edge has capped nuts, and it looks pretty neat.

See more here.

~ Andy War